

Whipping up your own chili garlic sauce at home is surprisingly simple and yields a vibrant, intensely flavorful condiment that far surpasses store-bought versions. This versatile sauce is perfect for adding a kick to any dish, from simple stir-fries to roasted vegetables, and it’s a fantastic way to elevate your favorite dipping sauce.
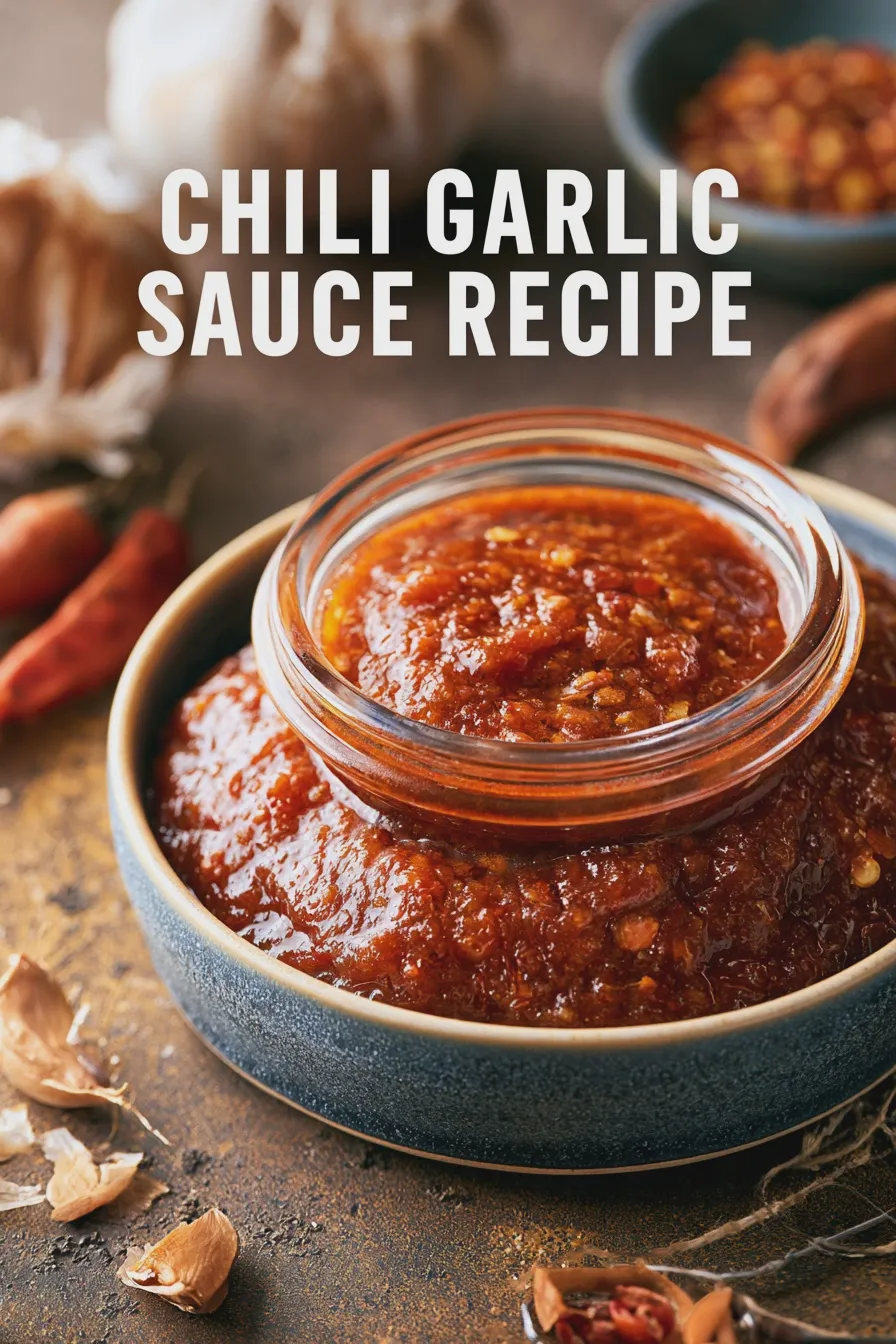
There’s something incredibly satisfying about creating your own flavor boosters in the kitchen, and this chili garlic sauce recipe is a prime example. It’s a fantastic way to control the heat level and the quality of ingredients, ensuring a delicious and potent condiment. This homemade chili garlic sauce is a game-changer for anyone who loves a bit of spice and garlic in their life.
 QUICK CHALLENGESolve intersecting words with niche clues and on-screen keyboardPlay now

Loading interactive activity…
What is Chili Garlic Sauce?
Chili garlic sauce is a popular condiment, especially in Asian cuisine, known for its bold flavor profile that balances heat from chilies with the pungent aroma and taste of garlic. It’s typically a thick, slightly coarse sauce, often featuring visible pieces of chili and garlic, giving it a rustic appeal and a delightful texture. You can find many variations, but the core components remain consistent: chilies and garlic, often preserved in vinegar or oil.
This condiment is incredibly versatile, acting as both a flavor enhancer and a spicy kick for a wide array of dishes. It’s a staple in many kitchens because it can transform ordinary meals into something extraordinary with just a spoonful. For those looking to explore authentic flavors, learning how to make chili garlic sauce is a rewarding endeavor, and it offers a wonderful alternative to commercially produced options. If you’re curious about the origins and variations of such spicy condiments, you can explore more on Wikipedia.
Why Make Your Own Chili Garlic Sauce?

The beauty of making your own chili garlic sauce lies in its freshness and customizable nature. You have complete control over the ingredients, allowing you to adjust the spice level, the amount of garlic, and even the type of chilies used to suit your personal preference. This means you can create a sauce that’s perfectly tailored to your palate, whether you like it mild and garlicky or fiery hot.
Homemade versions often taste superior because they use fresh, vibrant ingredients without the preservatives or additives found in many store-bought bottles. Plus, the process itself is quite simple and doesn’t require any specialized equipment, making it an accessible project for any home cook. It’s a fantastic way to stock your pantry with a delicious, homemade hot sauce that’s ready to be used as a flavor booster in countless recipes.
Don’t miss out on our guide to Whipped Feta Dip Honey Chili Flakes.

The good stuff, delivered
Fresh ideas and useful recipes, straight to your inbox.
Ingredients You’ll Need

Gathering your ingredients is the first step to creating this flavorful condiment. For an authentic taste and texture, we’ll focus on fresh, readily available items that will create a robust spicy garlic sauce.
- 2 cups fresh red chilies (such as Fresno, Thai bird’s eye, or a mix), stemmed and roughly chopped
- 1 cup peeled garlic cloves, roughly chopped
- 1/2 cup rice vinegar (or white vinegar for a sharper taste)
- 2 tablespoons sugar (or honey for a different sweetness profile)
- 1 teaspoon salt
- 1/4 cup neutral oil (like vegetable, canola, or grapeseed)
Ingredient Notes & Substitutions:
- Chilies: The type of chili you choose will significantly impact the heat and flavor. Fresno peppers offer a mild to medium heat and a fruity note, while Thai bird’s eye chilies pack a serious punch. For a milder sauce, you can remove the seeds and membranes from the chilies before chopping. If you can’t find fresh chilies, you can substitute with dried chilies rehydrated in hot water, though the texture will be different.
- Garlic: Fresh garlic is essential for that pungent kick. You can adjust the amount to your liking; some prefer a more pronounced garlic flavor, while others like it subtle.
- Vinegar: Rice vinegar provides a mild, slightly sweet acidity. White vinegar is a good alternative if you prefer a sharper, more pronounced tang. Apple cider vinegar can also be used for a fruitier note.
- Sweetener: Sugar balances the heat and acidity. Honey can be used as a natural sweetener, adding a slightly different flavor dimension.
- Salt: Crucial for flavor and preservation. Use kosher salt or sea salt.
- Oil: A neutral oil helps to emulsify the sauce and adds a smooth consistency. Avoid strong-flavored oils like olive oil, which can overpower the other flavors.
How to Make Chili Garlic Sauce
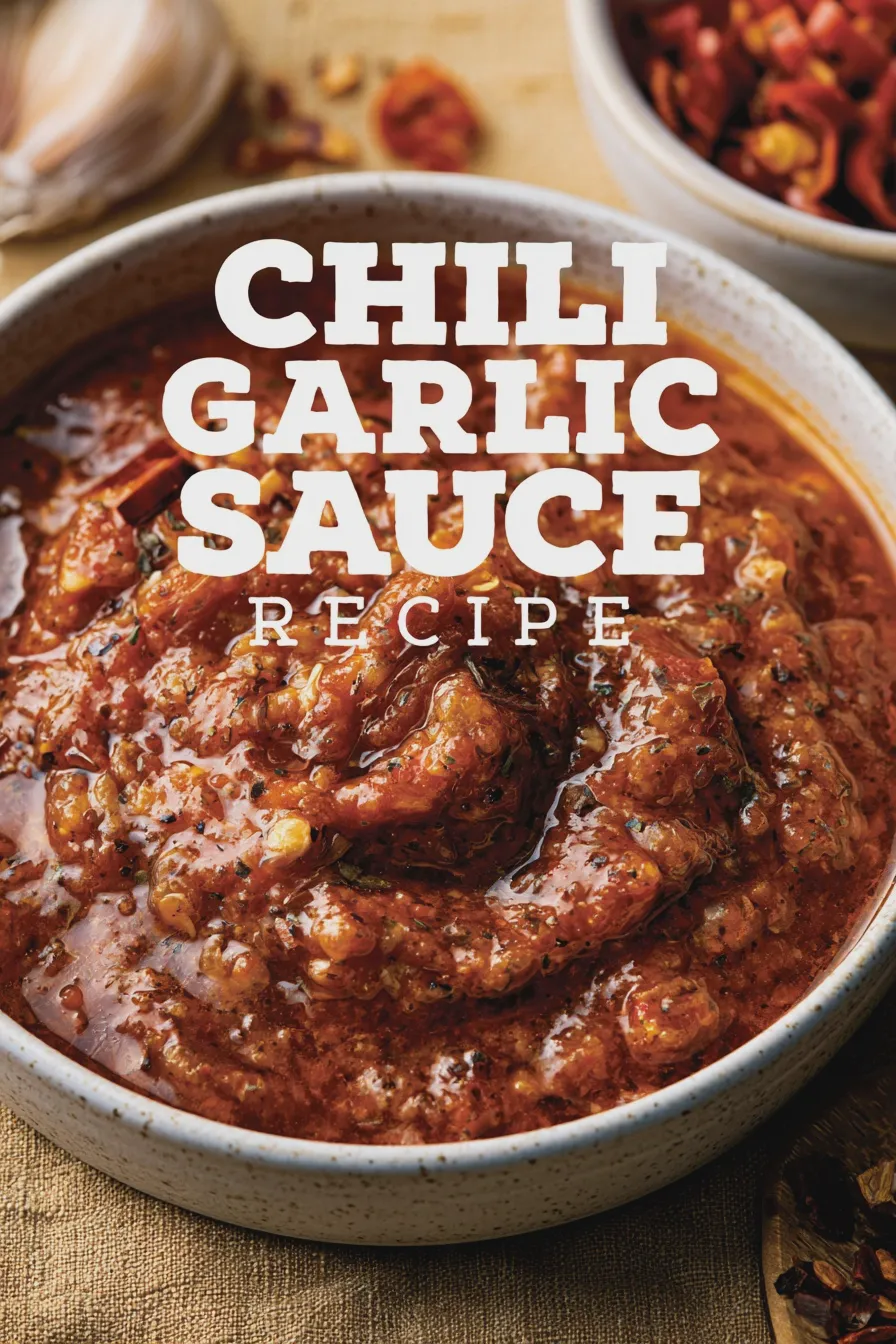
Creating your own homemade chili garlic sauce is a straightforward process that yields incredibly rewarding results. Follow these steps for a delicious, versatile condiment.
Step 1: Prepare the Chilies and Garlic
Begin by thoroughly washing your fresh chilies and removing their stems. Roughly chop both the chilies and the peeled garlic cloves; you can use a food processor for this, pulsing until you achieve a coarse, chunky paste. Be sure not to over-process, as you want some texture remaining in your spicy garlic sauce.
Step 2: Combine Ingredients in a Saucepan
In a medium saucepan, combine the chopped chilies and garlic, rice vinegar, sugar, and salt. Stir everything together well to ensure the sugar and salt begin to dissolve.
Another favorite of ours is the Viral Honey Butter Toast 4 Ingredients.
Step 3: Simmer the Sauce
Place the saucepan over medium heat and bring the mixture to a gentle simmer. Once simmering, reduce the heat to low, cover the pot, and let it cook for about 15-20 minutes, stirring occasionally. This simmering process allows the flavors to meld beautifully and the chilies and garlic to soften.
Step 4: Cool and Blend (Optional)
Remove the saucepan from the heat and let the sauce cool down slightly. If you prefer a smoother consistency for your chili garlic sauce recipe, you can carefully transfer the mixture to a blender or use an immersion blender to process it further. For a chunkier, more rustic texture, you can skip this blending step entirely or just pulse it a few times.
Step 5: Incorporate the Oil and Finish Cooking
Return the sauce to the saucepan (if you used a blender) and stir in the neutral oil. Cook over low heat for another 5-10 minutes, stirring frequently, until the sauce has thickened slightly and the oil is fully incorporated. This final cooking step helps to emulsify the sauce and develop its characteristic sheen. This easy chili garlic sauce is almost ready to enjoy!
Step 6: Cool and Store
Once the sauce has reached your desired consistency, remove it from the heat and allow it to cool completely. As it cools, it will thicken further. Transfer the cooled chili garlic sauce to a clean, airtight jar or container.
Serving and Storage Tips
Your homemade chili garlic sauce is now ready to be enjoyed! Its versatility makes it a valuable addition to any kitchen, and proper storage ensures you can savor its flavor for weeks to come.
Don’t miss out on our guide to New Orleans Mac And Cheese Quick Dinner.
Serving Ideas: This spicy condiment is incredibly adaptable. Use it as a dipping sauce for dumplings, spring rolls, or grilled meats. Stir it into stir-fries, noodle dishes, or fried rice for an instant flavor boost. It’s also fantastic spread on sandwiches, mixed into salad dressings, or drizzled over roasted vegetables and eggs. For a unique twist, try incorporating it into marinades or rubs for chicken or pork. It’s an excellent addition to many easy Asian recipes.
Storage: Because of the vinegar and salt content, this homemade chili garlic sauce will keep well in the refrigerator. Store it in an airtight container or jar. It should stay fresh and flavorful for at least 2-3 weeks. Always use a clean spoon to scoop out the sauce to prevent contamination and prolong its shelf life. If you notice any signs of mold or an off smell, it’s best to discard it.








Leave a Reply