Creamy, decadent, and bursting with flavor, homemade chocolate ice cream is easier to make than you might think. This recipe delivers a rich, smooth texture that rivals any store-bought brand, and it allows you to customize the sweetness and chocolate intensity to your exact liking. Get ready to indulge in a classic dessert that’s perfect for any occasion, made even better with these simple tips.
Why You’ll Love This Chocolate Ice Cream:
- Rich Chocolate Flavor: Indulge in an intensely chocolatey experience with every spoonful.
- Creamy Texture: Achieve a smooth, melt-in-your-mouth texture that’s simply irresistible.
- Customizable Sweetness: Adjust the sugar to your preference, creating a perfectly balanced treat.
- Homemade Goodness: Enjoy the satisfaction of making a delicious dessert from scratch.
- Perfect for Any Occasion: Whether it’s a summer BBQ or a cozy night in, this ice cream is always a hit.
Ingredients You’ll Need for the Chocolate Ice Cream

Primary components: Heavy cream forms the base, providing richness; whole milk balances the cream; granulated sugar adds sweetness and helps with texture.
Liquids & seasonings: Unsweetened cocoa powder delivers intense chocolate flavor; vanilla extract enhances the overall taste; a pinch of salt balances the sweetness.
Optional add-ins: Chocolate chips, chopped nuts, or swirls of caramel sauce can add extra layers of flavor and texture.
Don’t miss out on our guide to Air Fryer Chicken Tenders Extra Crispy.
Note: The exact ingredient quantities appear in the printable recipe card below.
How to Make Chocolate Ice Cream
Creating your own chocolate ice cream is a straightforward process that involves combining ingredients, chilling the mixture, and churning it to perfection. With a little patience and an ice cream maker, you can achieve a deliciously creamy dessert that’s far superior to anything you’ll find in stores.
Step 1: Combine the Base Ingredients
In a medium saucepan, whisk together the heavy cream, whole milk, granulated sugar, cocoa powder, and salt. Ensure the cocoa powder is fully incorporated to avoid any lumps.
Step 2: Heat the Mixture
Place the saucepan over medium heat and stir continuously until the sugar is completely dissolved and the mixture is smooth. Be careful not to boil the mixture; you want it just heated through.
Looking for more? Try this delicious Viral Honey Butter Toast 4 Ingredients next.
Step 3: Cool and Chill
Remove the saucepan from the heat and stir in the vanilla extract. Allow the mixture to cool slightly at room temperature, then transfer it to an airtight container. Refrigerate for at least 4 hours, or preferably overnight, to allow the flavors to meld and the mixture to fully chill.
Step 4: Churn the Ice Cream
Pour the chilled ice cream base into your ice cream maker and churn according to the manufacturer’s instructions. This usually takes about 20-25 minutes, or until the ice cream reaches a soft-serve consistency.
Step 5: Freeze to Harden
Transfer the churned ice cream to an airtight container and freeze for at least 2-3 hours to allow it to harden to a scoopable consistency. If adding mix-ins like chocolate chips or nuts, gently fold them in before freezing.
Looking for more? Try this delicious Viral Japanese Cream Sandwiches Tokyo next.
Pro Tips for Making Chocolate Ice Cream:
- Use High-Quality Cocoa: Opt for Dutch-processed cocoa powder for a smoother, richer chocolate flavor.
- Chill Thoroughly: Ensure the ice cream base is completely chilled before churning for the best texture.
- Don’t Overchurn: Churn until the ice cream reaches a soft-serve consistency to prevent it from becoming grainy.
- Harden Properly: Allow sufficient time in the freezer for the ice cream to harden to a scoopable consistency.
- Experiment with Mix-Ins: Add your favorite chocolate chips, nuts, or swirls of caramel for a personalized touch.
Variations & Serving Ideas
Once you’ve mastered the basic chocolate ice cream recipe, the possibilities are endless! Consider trying different flavor combinations or serving it in creative ways to elevate your dessert experience.
- Mint Chocolate Chip: Add a few drops of peppermint extract and some chocolate chips for a refreshing twist.
- Rocky Road: Mix in mini marshmallows, chopped almonds, and chocolate chips for a classic combination.
- Serve with Brownies: Warm brownies topped with a scoop of chocolate ice cream create a decadent dessert.
Storage & Reheating
Homemade chocolate ice cream is best enjoyed fresh, but it can be stored in the freezer for up to two weeks. To prevent freezer burn, store it in an airtight container and place a piece of plastic wrap directly on the surface of the ice cream before sealing.
Final Thoughts
Making your own chocolate ice cream is a rewarding experience that allows you to create a truly personalized dessert. With its rich flavor and creamy texture, this homemade treat is sure to impress your family and friends. Don’t be afraid to experiment with different flavors and mix-ins to create your own signature ice cream. Get more ideas with these creative recipes.
See also: airfried.
FAQs About Chocolate Ice Cream
Question 1: Can I make this recipe without an ice cream maker?
While an ice cream maker is recommended for the best texture, you can make a no-churn version by whisking the chilled mixture every 30 minutes while it freezes to break up ice crystals.
Question 2: What type of cocoa powder is best for this recipe?
Dutch-processed cocoa powder is preferred for its smoother flavor and darker color, but natural unsweetened cocoa powder can also be used.
Question 3: How can I prevent ice crystals from forming in my homemade ice cream?
Ensure the ice cream base is thoroughly chilled before churning, and store the finished ice cream in an airtight container to minimize exposure to air.
For more details on Air Fryer Meatloaf Mini Loaves, check out Air Fryer Recipes.
Question 4: Can I use a different type of milk in this recipe?
While whole milk is recommended for its richness, you can use 2% milk, but the ice cream may not be as creamy. Avoid using skim milk, as it will result in a less desirable texture.
Question 5: What are some other mix-in ideas for chocolate ice cream?
Consider adding peanut butter cups, crushed Oreos, chopped brownies, or a swirl of hot fudge for extra flavor and texture.
Question 6: How long does homemade chocolate ice cream last in the freezer?
Homemade ice cream is best enjoyed within two weeks of making it. After that, the texture may start to deteriorate, and ice crystals may form.
Print
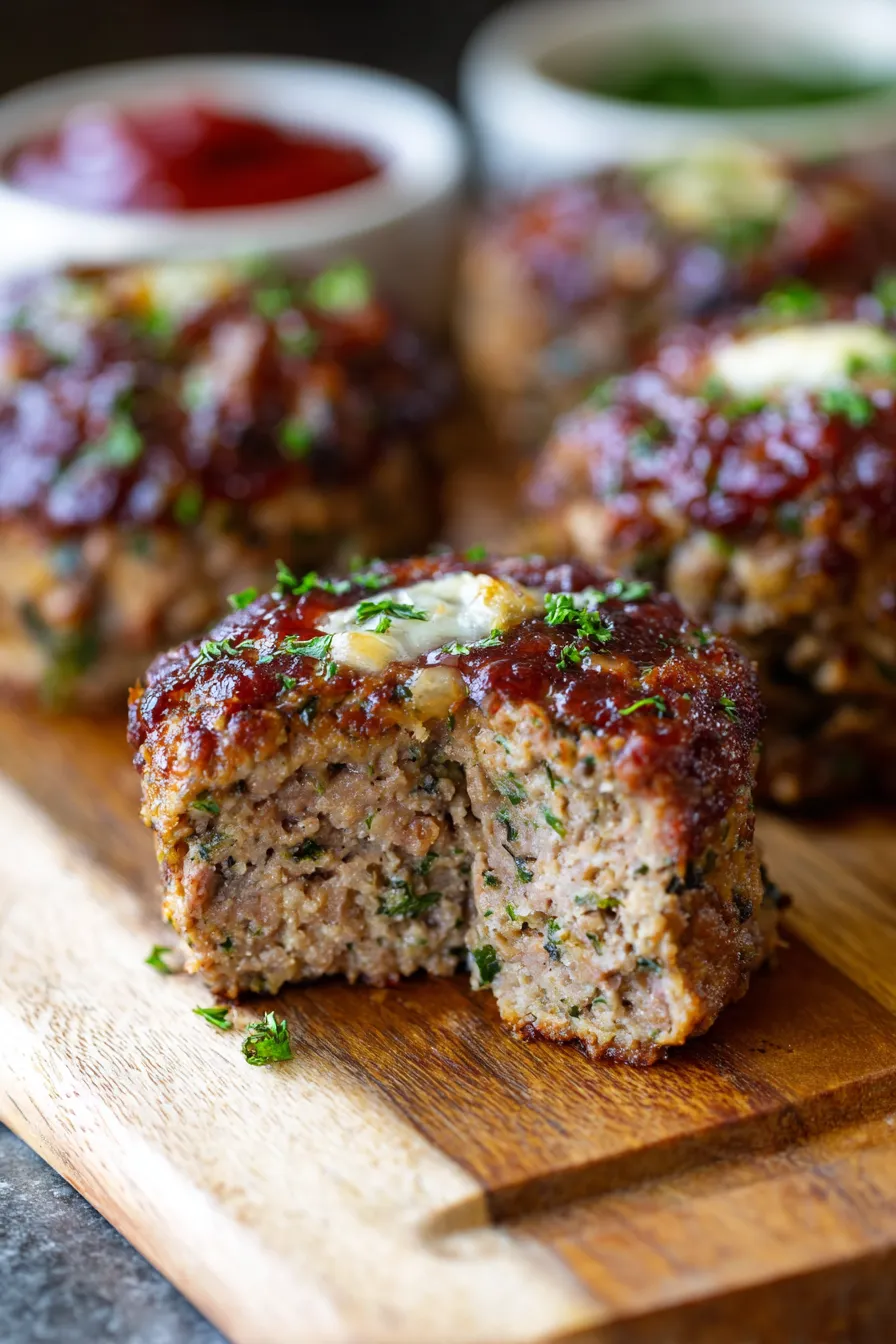
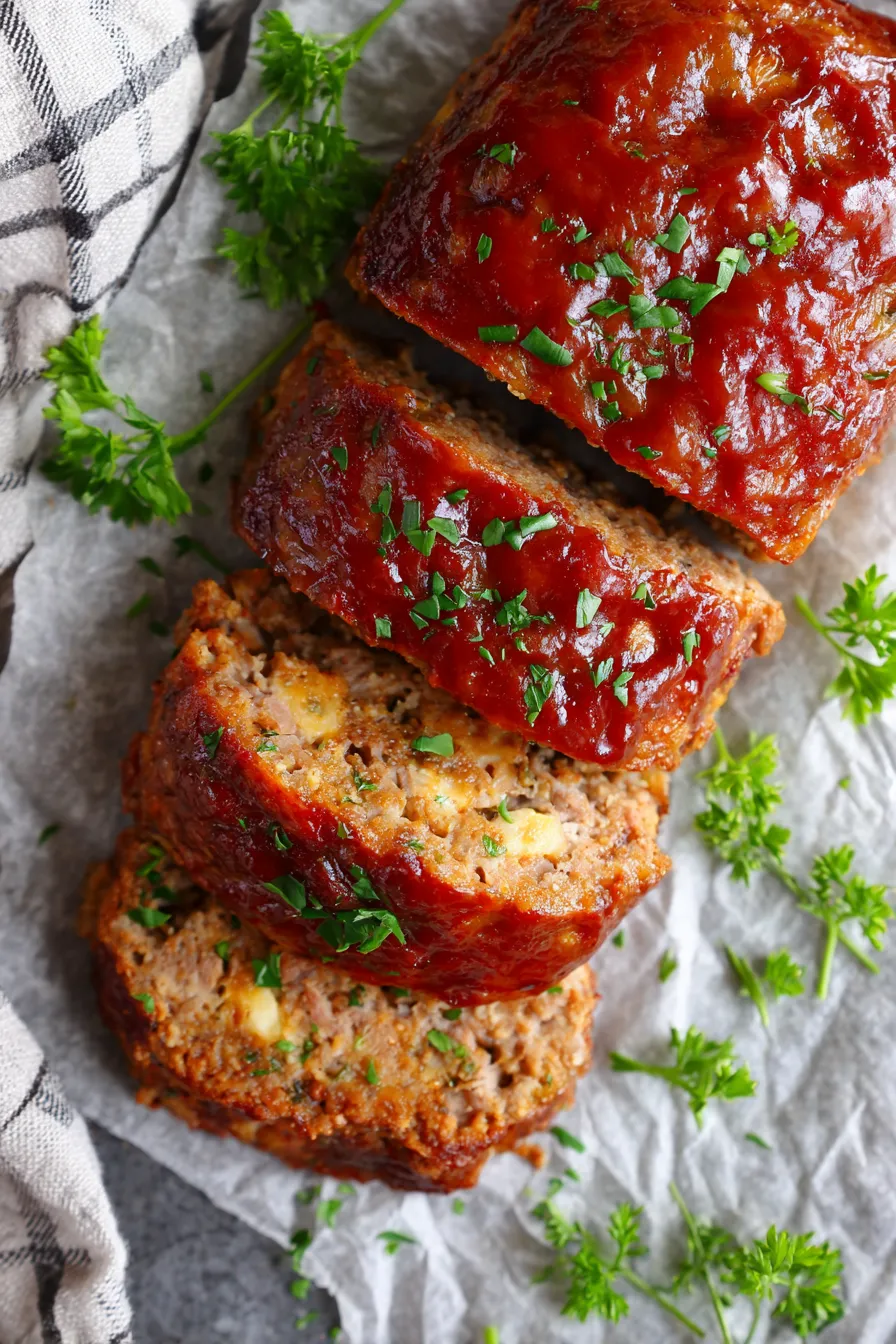
Air Fryer Meatloaf Mini Loaves Delicious and Cozy Family Favorite
- Total Time: 40 minutes
- Yield: 4-6 mini loaves 1x
- Diet: Gluten-Free (use gluten-free breadcrumbs)
Description
These Air Fryer Meatloaf Mini Loaves are a quick and easy weeknight dinner. Perfectly portioned and cooked to juicy perfection in your air fryer!
Ingredients
- 1.5 lbs ground beef (80/20 blend recommended)
- 1 cup bread crumbs (plain or Italian seasoned)
- 1/2 cup milk
- 1 large egg, lightly beaten
- 1/4 cup ketchup
- 1/4 cup finely chopped onion
- 2 cloves garlic, minced
- 1 tablespoon Worcestershire sauce
- 1 teaspoon dried Italian herbs
- 1/2 teaspoon salt
- 1/4 teaspoon black pepper
- Optional topping: 1/4 cup ketchup mixed with 1 tablespoon brown sugar
Instructions
- In a large bowl, combine all ingredients (except topping, if using) until just mixed. Do not overmix.
- Divide the meatloaf mixture into 4-6 equal portions. Shape each portion into a mini loaf.
- If using, brush the tops of the mini loaves with the ketchup-brown sugar mixture.
- Place the mini loaves in the air fryer basket, ensuring they are not overcrowded. You may need to cook in batches.
- Air fry at 350°F (175°C) for 20-25 minutes, or until the internal temperature reaches 160°F (71°C).
- Let the meatloaf rest for 5-10 minutes before serving.
Notes
- For easier cleanup, line your air fryer basket with parchment paper specifically made for air fryers.
- Cooking time may vary depending on your air fryer model. Check for doneness using a meat thermometer.
- You can substitute ground turkey or chicken for ground beef.
- Serve with your favorite sides, such as mashed potatoes, green beans, or a side salad.
- Prep Time: 15 minutes
- Cook Time: 25 minutes
- Category: Main Course
- Method: Air Fryer
- Cuisine: American
Nutrition
- Serving Size: 1 mini loaf
- Calories: 350
- Sugar: 8
- Sodium: 600
- Fat: 20
- Saturated Fat: 8
- Carbohydrates: 15
- Fiber: 1
- Protein: 25
- Cholesterol: 120