Learn how to make the perfect corn on the cob, a summer staple that’s easy to prepare and always a crowd-pleaser. From grilling to boiling, there are many ways to cook this delicious vegetable, but we’ll focus on achieving the best flavor and texture every time. Whether you’re planning a backyard barbecue or just looking for a simple side dish, knowing how to cook corn on the cob perfectly is essential. Get ready to enjoy tender, juicy kernels with these easy tips and tricks, and don’t forget to check out our other favorite summer recipes for more inspiration.
Why You’ll Love This Corn on the Cob
This corn on the cob recipe is a game-changer for several reasons. First, it’s incredibly simple and quick, making it perfect for busy weeknights or spontaneous gatherings. The flavor is outstanding – naturally sweet and enhanced by your favorite seasonings. Plus, it’s a versatile side dish that complements almost any meal, from grilled meats to summer salads. Clean-up is a breeze, and everyone loves biting into a juicy ear of corn.
Ingredients You’ll Need for the Corn on the Cob
Primary components: Fresh corn on the cob (in husks or pre-shucked).
Liquids & seasonings: Water, butter, salt, pepper.
Another favorite of ours is the Air Fryer Chicken Tenders Extra Crispy.
Optional add-ins: Olive oil, garlic powder, paprika, chili powder, fresh herbs like parsley or cilantro, lime wedges.
Note: The exact ingredient quantities appear in the printable recipe card below.
How to Make Corn on the Cob
Making perfect corn on the cob is easier than you think! This overview will guide you through the simple steps, from prepping the corn to adding your favorite seasonings. Whether you choose to boil, grill, or microwave, the key is to avoid overcooking the corn to maintain its sweet, juicy flavor, as explained by the experts at Serious Eats. Let’s get started!
Step 1: Prep the Corn
If your corn is still in the husk, peel back the outer layers of the husk and remove the silk. You can either remove the husks entirely or leave them attached to use as a handle. If using pre-shucked corn, rinse under cold water to remove any debris.
If you enjoyed this, you might also love our Crispy Parmesan Chicken Cutlets Skillet recipe.
Step 2: Boil the Corn
Fill a large pot with water and bring it to a rolling boil. Once boiling, carefully add the corn on the cob. Make sure the corn is fully submerged in the water. If necessary, use a plate or smaller pot to weigh down the corn.
Step 3: Cook the Corn
Once the corn is added, the water will stop boiling momentarily. Wait for the water to return to a boil, then cook the corn for about 5-7 minutes. Do not overcook, as this can make the corn tough.
Step 4: Grill the Corn (Optional)
If you prefer grilling, soak the corn (in husks) in water for at least 30 minutes. Preheat your grill to medium heat. Place the corn on the grill and cook for about 15-20 minutes, turning occasionally, until the husks are charred and the corn is tender.
Looking for more? Try this delicious Crispy Chicken Katsu Tonkatsu Sauce Recipe next.
Step 5: Microwave the Corn (Optional)
For a quick method, place the corn (in husks) in the microwave. Cook on high for 3-5 minutes, depending on the size of the corn and the power of your microwave. Let it cool slightly before removing the husks and silk.
Step 6: Season and Serve
Remove the cooked corn from the pot (or grill/microwave). If you grilled the corn in husks, carefully peel back the husks. Spread butter evenly over the corn, then season with salt, pepper, and any other desired seasonings. Serve immediately and enjoy!
Pro Tips for Making Corn on the Cob
To get the best results with your corn on the cob, keep these tips in mind. First, don’t add salt to the boiling water, as this can toughen the corn. Instead, season after cooking. For grilling, soaking the corn prevents the husks from burning too quickly. And remember, fresh corn is key – look for plump kernels and bright green husks for the best flavor.
You might also be interested in this related resource: Air Fryer Recipes.
Variations & Serving Ideas
Corn on the cob is delicious on its own, but there are many ways to customize it to your liking! Try different seasonings and toppings to create unique flavor combinations. Here are a few ideas to get you started.
- Mexican Street Corn (Elote): Brush with mayonnaise, sprinkle with cotija cheese, chili powder, and a squeeze of lime.
- Garlic Parmesan Corn: Mix melted butter with minced garlic and grated Parmesan cheese. Brush over the corn after cooking.
- Herb Butter Corn: Combine softened butter with chopped fresh herbs like parsley, chives, and thyme. Spread over the corn for a burst of flavor.
Storage & Reheating
Leftover corn on the cob can be stored in the refrigerator for up to 3 days. Wrap each ear tightly in plastic wrap or place in an airtight container to prevent it from drying out. To reheat, you can microwave it for a minute or two, or grill it briefly to restore some of its original flavor.
Final Thoughts
With these simple steps and tips, you’ll be making perfect corn on the cob all summer long. Whether you prefer boiling, grilling, or microwaving, the key is to use fresh corn and avoid overcooking it. Enjoy experimenting with different seasonings and toppings to find your favorite flavor combinations, and be sure to share your creations with friends and family. For more great side dish ideas, check out our collection of summer side dish recipes!
See also: Air Fryer Recipes.
FAQs About Corn on the Cob
Question 1: How do I choose the freshest corn on the cob?
Look for corn with bright green, tightly wrapped husks. The silk should be moist and golden brown. Feel the kernels through the husk – they should be plump and plentiful.
Question 2: Do I need to add sugar to the boiling water?
No, adding sugar to the water is not necessary. Fresh corn is naturally sweet, and adding sugar won’t significantly enhance the flavor. It’s better to focus on not overcooking the corn to preserve its natural sweetness.
Question 3: Can I cook corn on the cob in an Instant Pot?
Yes, you can cook corn on the cob in an Instant Pot. Add 1 cup of water to the Instant Pot, place the corn on the trivet, and cook on high pressure for 3-4 minutes. Quick-release the pressure and serve.
Question 4: What’s the best way to remove the silk from corn on the cob?
The easiest way to remove the silk is to pull it off after the corn has been cooked or microwaved for a short time. The silk comes off more easily when it’s slightly damp and heated.
Question 5: Is it better to grill corn with or without the husk?
Grilling corn in the husk helps to steam the corn and keep it moist. If you prefer a more charred flavor, you can grill it without the husk, but keep a close eye on it to prevent burning.
Question 6: Can I freeze corn on the cob?
Yes, you can freeze corn on the cob. Blanch the corn in boiling water for 5-7 minutes, then plunge it into ice water to stop the cooking process. Drain well, wrap each ear tightly in plastic wrap, and freeze for up to 8 months.
Print
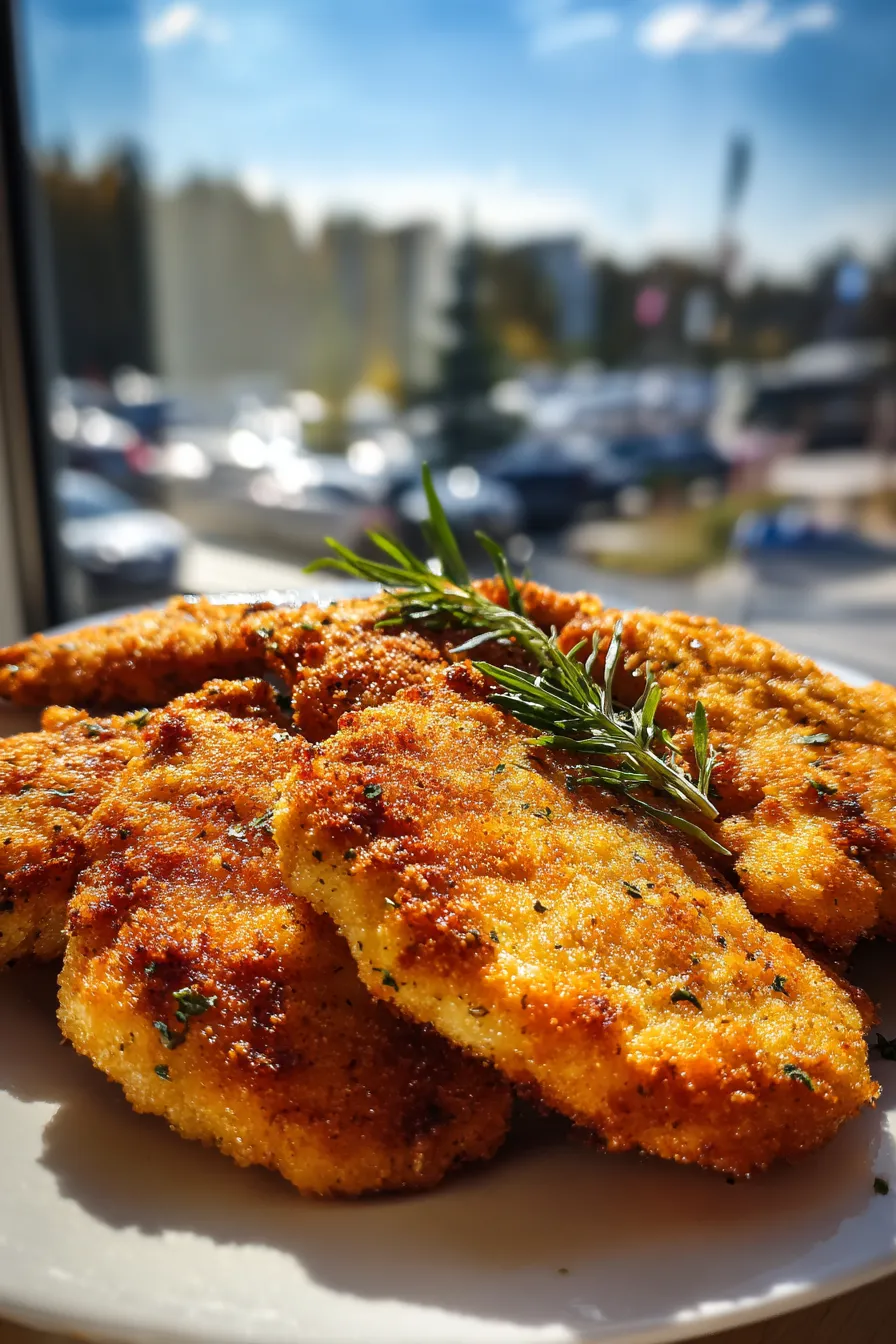
Air Fryer Chicken Cutlets Extra Crispy Delicious Family Favorite You will love
- Total Time: 25 minutes
- Yield: 4 servings 1x
- Diet: Gluten Free (use gluten-free breadcrumbs)
Description
Air fryer chicken cutlets are a quick and easy way to enjoy a crispy, delicious meal without all the oil. This recipe delivers perfectly cooked, extra crispy chicken every time.
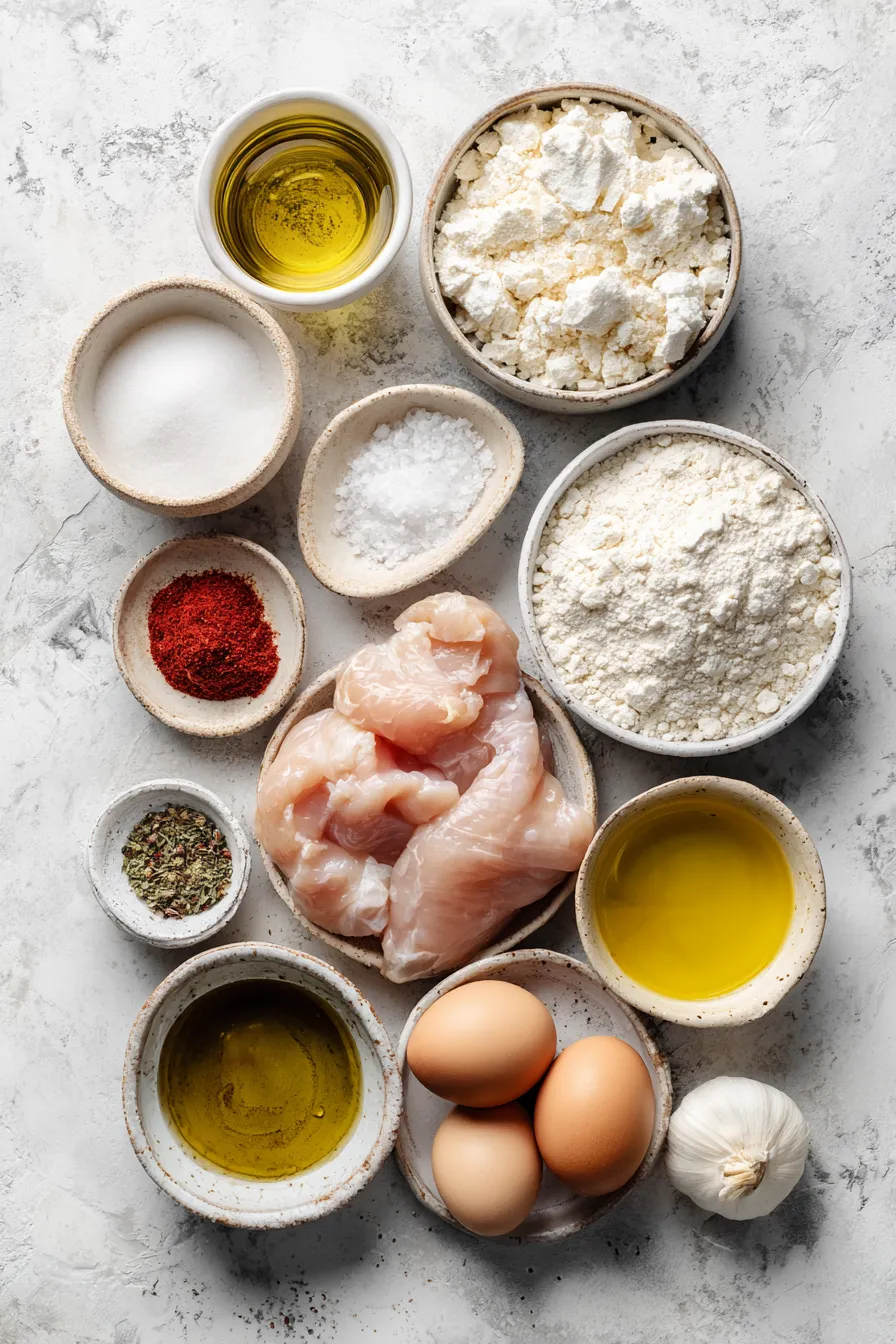
Ingredients
- 1 pound boneless, skinless chicken breasts, thinly sliced into cutlets
- 1 cup panko breadcrumbs
- 1/2 cup grated Parmesan cheese
- 1 teaspoon garlic powder
- 1 teaspoon onion powder
- 1/2 teaspoon paprika
- 1/4 teaspoon salt
- 1/4 teaspoon black pepper
- 2 large eggs, beaten
- 2 tablespoons olive oil
Instructions
- Preheat your air fryer to 400°F (200°C).
- In a shallow dish, combine the panko breadcrumbs, Parmesan cheese, garlic powder, onion powder, paprika, salt, and pepper.
- In another shallow dish, beat the eggs with a fork.
- Dip each chicken cutlet into the beaten eggs, ensuring it is fully coated.
- Dredge the egg-coated chicken cutlet in the breadcrumb mixture, pressing gently to adhere.
- Lightly brush the air fryer basket with olive oil.
- Place the breaded chicken cutlets in the air fryer basket in a single layer, being careful not to overcrowd. You may need to cook in batches.
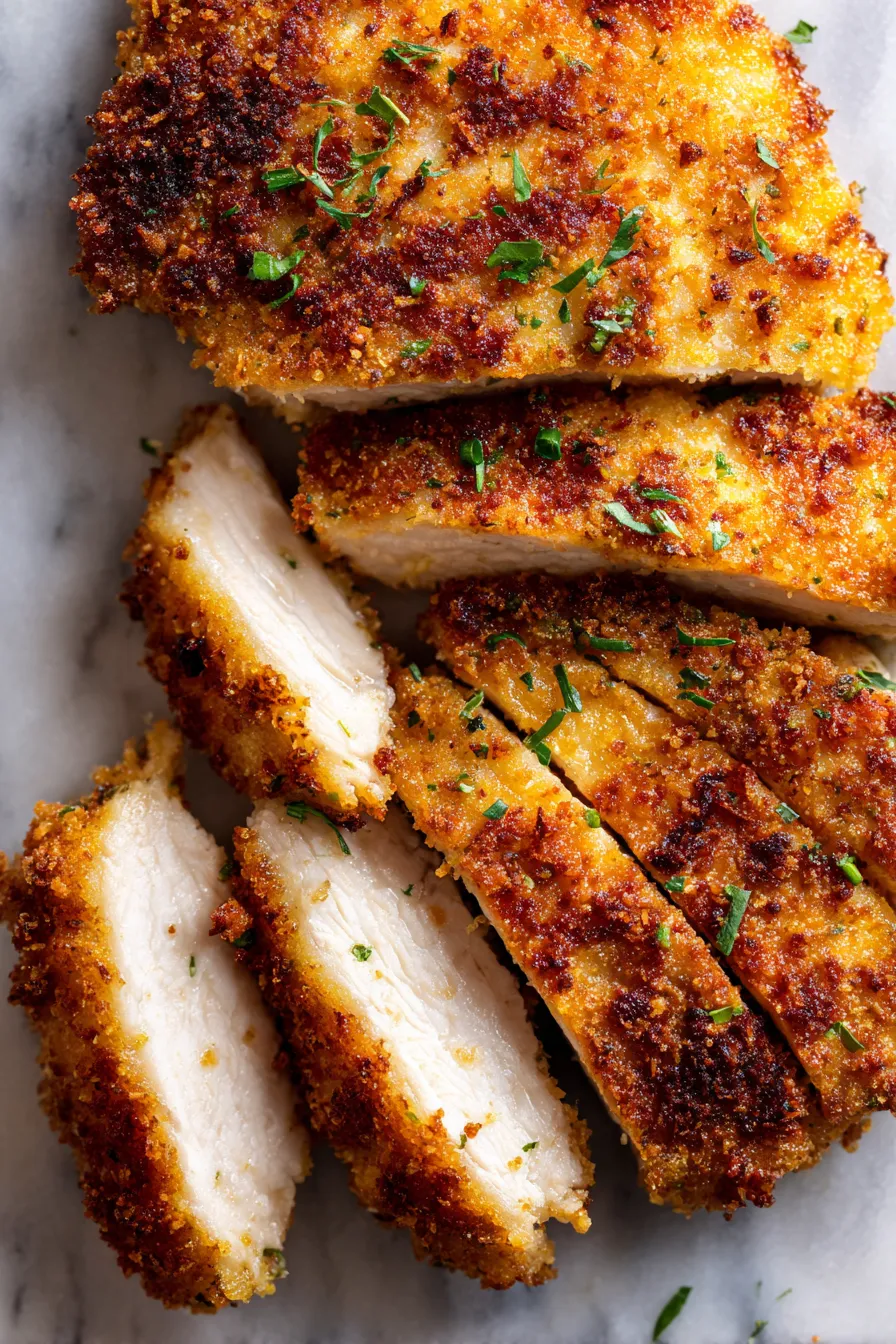
- Cook for 8-10 minutes, flipping halfway through, until the chicken is cooked through and golden brown. Internal temperature should reach 165°F (74°C).
- Remove the chicken cutlets from the air fryer and let them rest for a few minutes before serving.
Notes
- For extra crispy cutlets, lightly spray the breaded chicken with olive oil spray before air frying.
- If you don’t have panko breadcrumbs, you can use regular breadcrumbs, but the texture will be slightly different.
- Serve these chicken cutlets with your favorite dipping sauce, such as marinara, honey mustard, or ranch dressing.
- Store leftovers in an airtight container in the refrigerator for up to 3 days. Reheat in the air fryer for best results.
- Prep Time: 15 minutes
- Cook Time: 10 minutes
- Category: Main Course
- Method: Air Fryer
- Cuisine: American
Nutrition
- Serving Size: 1 cutlet
- Calories: 350
- Sugar: 1
- Sodium: 400
- Fat: 18
- Saturated Fat: 5
- Carbohydrates: 20
- Fiber: 1
- Protein: 28
- Cholesterol: 150