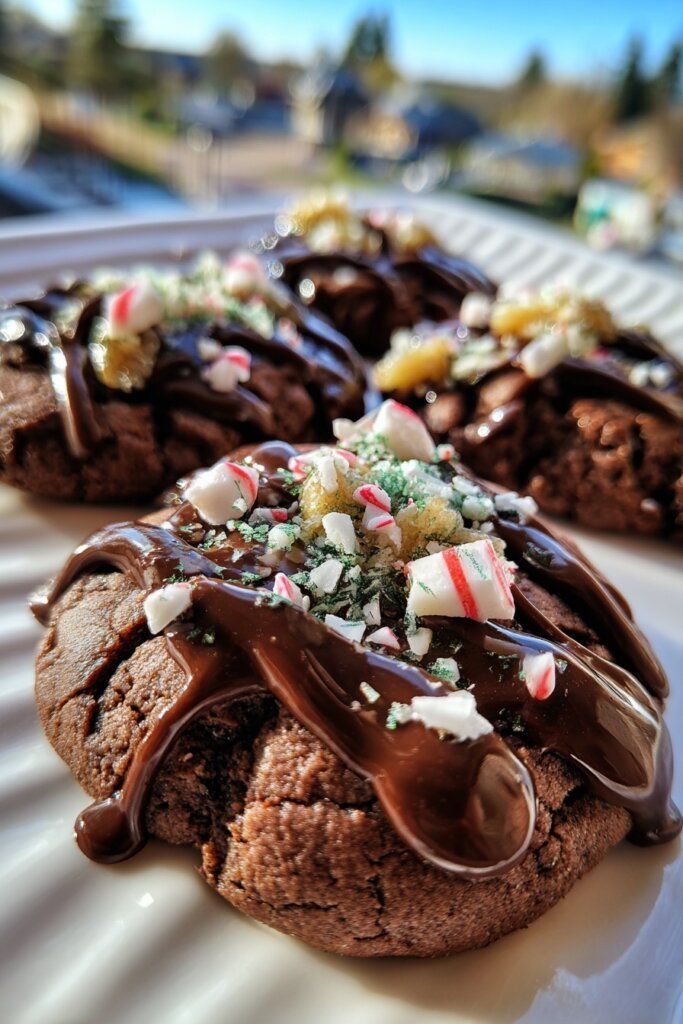
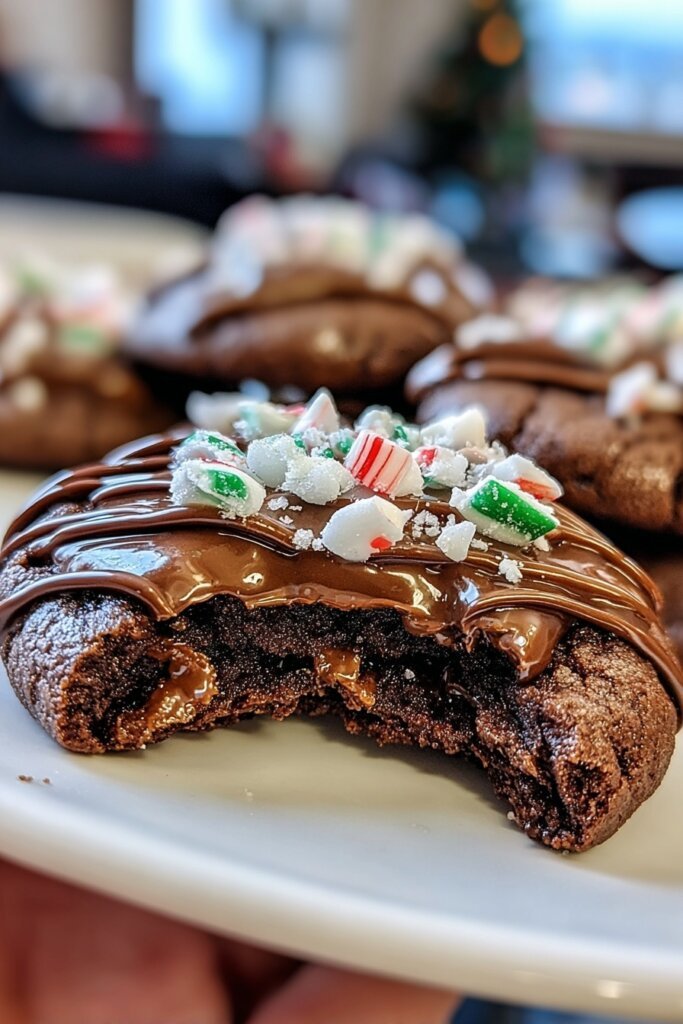
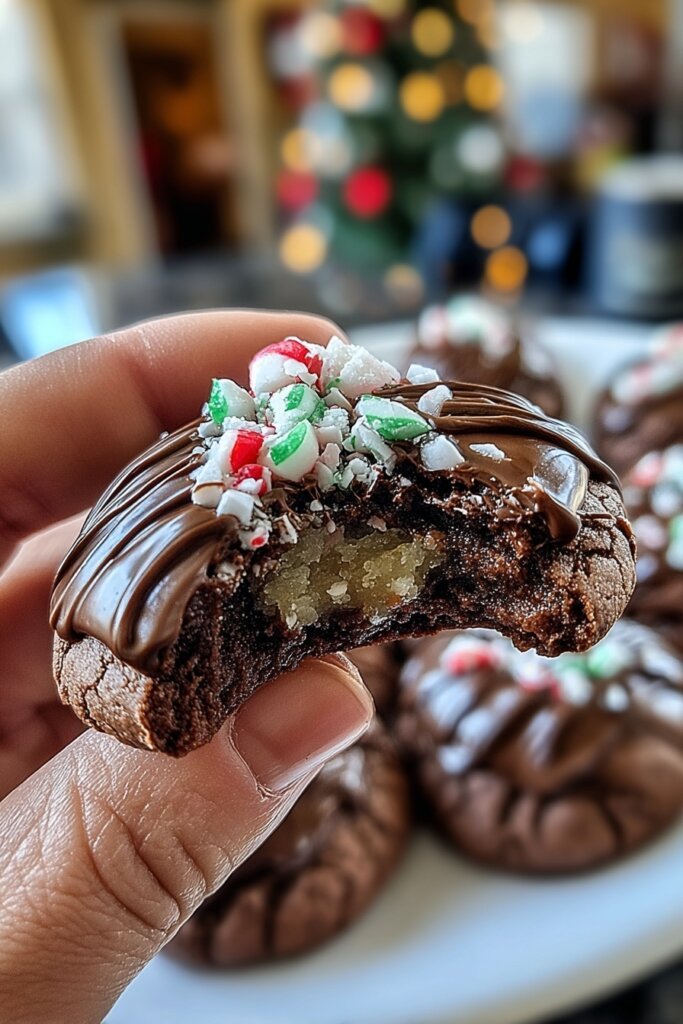
Get ready to bake up some holiday cheer with these incredible Chocolate Peppermint Thumbprint Cookies! This festive dessert is surprisingly easy to make, combining rich chocolate cookies with a creamy peppermint white chocolate filling.
Perfect for busy moms and anyone craving a delicious homemade treat, these peppermint cookies are a delightful addition to any gathering.
Why You’ll Love This Chocolate Peppermint Thumbprint Cookies
-
Festive Flavors: The classic combination of chocolate and peppermint makes these cookies a holiday favorite.
-
Perfect for Gifting: Beautifully decorated, these thumbprint cookies are ideal for holiday cookie exchanges or homemade gifts.
-
Satisfying Texture: A soft, rich chocolate cookie base perfectly cradles a smooth, creamy peppermint filling.
-
Make Ahead Friendly: The dough can be chilled, and baked cookies freeze well, simplifying your holiday prep.
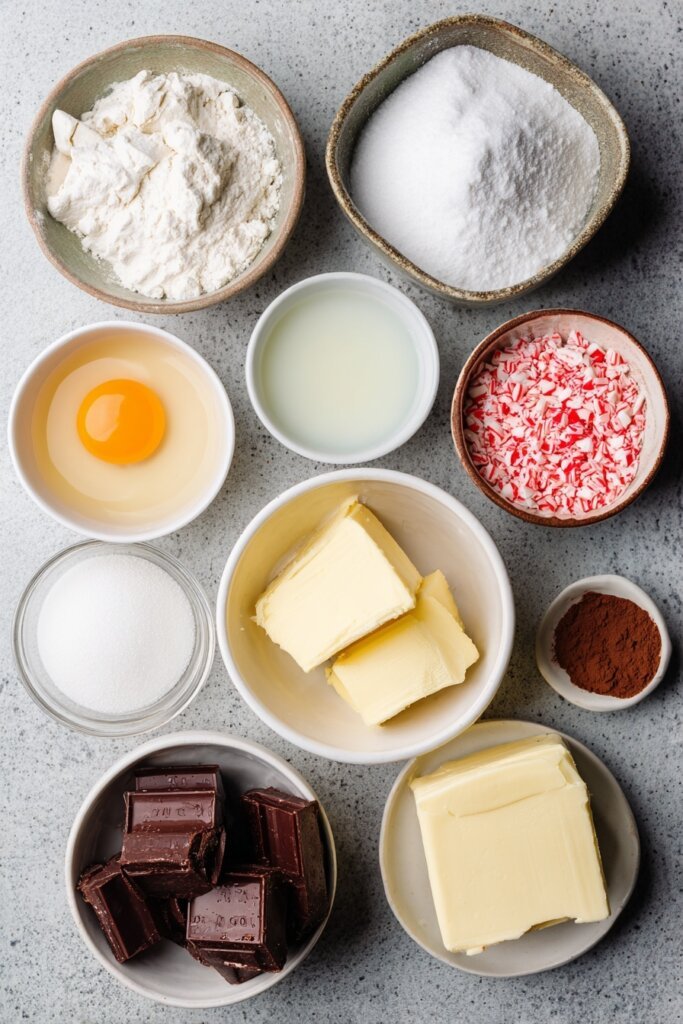
Ingredients You’ll Need
Primary components: You’ll need softened unsalted butter, granulated and brown sugar, an egg yolk, vanilla extract, all-purpose flour, and unsweetened cocoa powder for the rich chocolate cookie base.
Liquids & Seasoning: Baking soda and salt enhance the cookie flavor, while heavy cream, white chocolate, and peppermint extract create the luscious filling.
Optional add-ins: Consider a touch of red food coloring for a festive pink filling and crushed peppermint candies for an extra crunch and visual appeal.
If you love that rich chocolate and cool peppermint combo, you’ll definitely want to check out the peppermint crinkle cookies. They’re soft, fudgy, and have that same festive minty touch that pairs perfectly with these thumbprints.
Note: You’ll find the complete list of ingredients, along with their exact measurements, in the printable recipe card at the bottom of this post. Exact quantities appear in the printable recipe card below.
How to Make Chocolate Peppermint Thumbprint Cookies
Making these delightful Chocolate Peppermint Thumbprint Cookies involves simple steps: preparing the chocolate cookie dough, baking the bases, crafting the creamy peppermint filling, and finally, assembling these beautiful holiday treats. For more thumbprint cookies inspiration, check out The Kitchn!
Step 1: Prep Your Pan and Graham Cracker Base
Cream together butter and sugars, then mix in egg yolk and vanilla for the cookie dough.
Step 2: Make the Chocolate Butter Mixture
Combine flour, cocoa powder, baking soda, and salt, then gradually add to wet ingredients until just mixed.
Step 3: Mix Sugar and Eggs for a Velvety Batter
Chill the dough for at least 30 minutes to make it easier to handle and prevent spreading.
Step 4: Fold in Dry Ingredients
Preheat oven to 350°F (175°C) and line baking sheets with parchment paper.
Roll dough into 1-inch balls, place on sheets, and make an indentation in each with your thumb.
Step 5: Bake the Brownie Base
Bake for 9-11 minutes until edges are set, then re-press indentations if needed.
Step 6: Add the S’mores Toppings and Finish Baking
Cool cookies for 5 minutes on sheets before transferring to a wire rack to cool completely.
Step 7: Cool and Serve
Melt white chocolate and heavy cream, then stir in peppermint extract and optional red food coloring.
Spoon filling into cooled cookie indentations, sprinkle with crushed peppermint, and allow to set.
Pro Tips for Making {{RECIPE_NAME}}
-
Don’t Overmix: Mix dry ingredients into wet until just combined to keep cookies tender.
-
Chill Dough Properly: Refrigerate dough for at least 30 minutes to prevent spreading during baking.
-
Deep Indentations: Make sure the thumbprint indentations are deep enough to hold plenty of filling.
-
Re-press If Needed: If indentations puff up during baking, gently re-press them immediately after removing from the oven.
-
Finely Chop White Chocolate: This ensures a smooth, lump-free peppermint filling.
-
Cool Completely: Wait for cookies to be fully cool before adding the filling to prevent melting.
-
Pipe for Precision: For neat filling, use a piping bag with a small round tip.
Final Thoughts
These Chocolate Peppermint Thumbprint Cookies are more than just a dessert; they’re a little bite of holiday joy. Easy to make and always a crowd-pleaser, they bring warmth and festive flavor to any table.
For another cozy winter treat, take a peek at my hot cocoa cookies on the blog. With melted marshmallows and deep cocoa flavor, they make a fun and comforting pairing with these peppermint thumbprints.
FAQs
How do I know when my Chocolate Peppermint Thumbprint Cookies are done baking?
The cookies are done when the edges are set and the centers still look slightly soft. They will firm up as they cool.
Can I use dark chocolate for the filling instead of white chocolate?
Yes, you can use dark chocolate, but you might need to adjust the peppermint extract to taste, as dark chocolate has a stronger flavor.
How should I store these thumbprint cookies?
Store your Chocolate Peppermint Thumbprint Cookies in an airtight container at room temperature for up to 5 days or freeze for longer storage.
Can I make the cookie dough ahead of time?
Absolutely! The cookie dough can be made and chilled for up to 2 days, or frozen for longer, making holiday baking a breeze.

Chocolate Peppermint Thumbprint Cookies a perfect satisfying treat You will love
- Total Time: 40 minutes
- Yield: 24 cookies 1x
- Diet: Vegetarian
Description
These Chocolate Peppermint Thumbprint Cookies are a delightful and festive treat, perfect for holiday gatherings or a cozy winter evening.
Ingredients
- For the Cookies:
- 1/2 cup (1 stick) unsalted butter, softened
- 1/2 cup granulated sugar
- 1/4 cup packed light brown sugar
- 1 large egg yolk
- 1 teaspoon vanilla extract
- 1 1/4 cups all-purpose flour
- 1/2 cup unsweetened cocoa powder
- 1/2 teaspoon baking soda
- 1/4 teaspoon salt
- For the Peppermint Filling:
- 4 ounces white chocolate, finely chopped
- 2 tablespoons heavy cream
- 1/4 teaspoon peppermint extract (or to taste)
- Red food coloring (optional, for tinting)
- Crushed peppermint candies, for garnish (optional)
Instructions
- Make the Cookie Dough: In a large bowl, cream together the softened butter, granulated sugar, and brown sugar until light and fluffy. Beat in the egg yolk and vanilla extract until well combined.
- In a separate medium bowl, whisk together the flour, cocoa powder, baking soda, and salt. Gradually add the dry ingredients to the wet ingredients, mixing on low speed until just combined and a soft dough forms. Do not overmix.
- Cover the dough with plastic wrap and refrigerate for at least 30 minutes, or until firm enough to handle. This helps prevent spreading.
- Bake the Cookies: Preheat your oven to 350°F (175°C). Line baking sheets with parchment paper.
- Roll the chilled dough into 1-inch balls. Place them about 2 inches apart on the prepared baking sheets.
- Using your thumb or the back of a rounded teaspoon, make a deep indentation in the center of each cookie ball.
- Bake for 9-11 minutes, or until the edges are set and the centers are still slightly soft. Remove from the oven and immediately re-press the indentations if they have puffed up too much.
- Let the cookies cool on the baking sheets for 5 minutes before transferring them to a wire rack to cool completely.
- Make the Peppermint Filling: In a microwave-safe bowl, combine the chopped white chocolate and heavy cream. Microwave in 30-second intervals, stirring after each, until the white chocolate is melted and smooth. Alternatively, melt over a double boiler.
- Stir in the peppermint extract. If desired, add a tiny drop of red food coloring and mix until you achieve a light pink color.
- Assemble the Cookies: Once the cookies are completely cool, spoon or pipe the peppermint filling into the indentations of each cookie.
- If using, sprinkle the crushed peppermint candies over the filling before it sets.
- Allow the filling to set at room temperature or in the refrigerator for about 15-20 minutes.
- Store the Chocolate Peppermint Thumbprint Cookies in an airtight container at room temperature for up to 5 days.
Notes
- For a stronger peppermint flavor, you can add a tiny bit more peppermint extract to the filling, but be careful not to overpower the white chocolate.
- If your cookie dough is too sticky to roll, chill it for an additional 15-30 minutes.
- To achieve a smooth filling, ensure your white chocolate is finely chopped before melting.
- These cookies freeze well! Once the filling is set, place them in an airtight container with parchment paper between layers for up to 3 months. Thaw at room temperature before serving.
- Prep Time: 30 minutes
- Cook Time: 10 minutes
- Category: Dessert
- Method: Baking
- Cuisine: American
Nutrition
- Serving Size: 1 cookie
- Calories: 180
- Sugar: 18g
- Sodium: 50mg
- Fat: 10g
- Saturated Fat: 6g
- Carbohydrates: 20g
- Fiber: 1g
- Protein: 2g
- Cholesterol: 25mg